The Ultimate Guide to Automating Your Slide Capture with SlideSieve
Installation & Setup
Getting started with SlideSieve is incredibly straightforward. Once installed from the Chrome Web Store, we highly recommend pinning the extension to your Chrome toolbar. This ensures the extension icon is always visible when you start a new course video.
The Core Workflow
-
Navigate to a supported video platform (DeepLearning.AI, Coursera, Udemy, or YouTube) and open a video lecture before starting playback. For other video players and educational websites, read our guide on how to extract slides from any online course video.
-
Click the prominent Start Auto Capture button located on the SlideSieve floating toolbar directly under the video player. Now you can hit play, and the extension will capture every slide from the very beginning.
-
Start playing your video.
-
(Optional) Click the SlideSieve extension icon in your Chrome toolbar (or the Side Panel toggle on the floating toolbar) to open the side panel and watch your slides get captured in real-time.
That's it. The algorithm works silently in the background, extracting actual slide content while skipping the instructor's webcam.
Mastering the Interface
While the auto-capture is magical, SlideSieve provides a robust set of tools to manage your captured content perfectly.
Toolbar & Side Panel
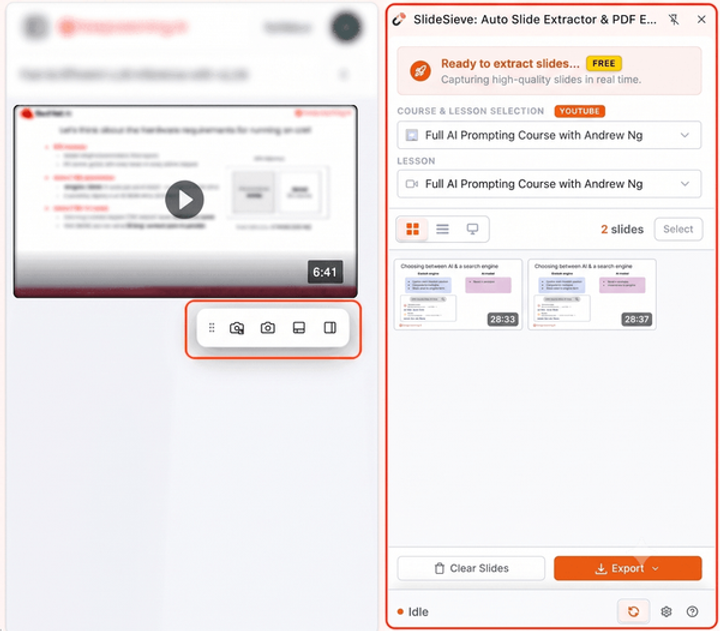
SlideSieve's interface is split into two seamless components: a floating toolbar used for capturing slides in the course page, and a dedicated side panel that acts as your workspace to view, manage, and export those captured slides. Because it operates natively inside Chrome's Side Panel, it never blocks your video or clutters the webpage. You can easily show or hide the side panel at any time by clicking the toggle button on the floating toolbar or the extension icon.
Course & Lesson Organization
At the top of the SlideSieve panel, you'll notice the Course and Lesson dropdowns. The extension automatically extracts the course name and lesson title directly from the webpage URL. All your captured slides are organized neatly into these specific lesson buckets, ensuring your slides never get mixed up.
Viewing Slides and Transcripts
At the top of the side panel, you can toggle between the Slides tab and the Transcript tab.
- Slides Tab: View all your captured slides. SlideSieve offers 3 distinct viewing modes:
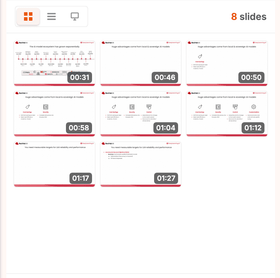
- Grid View: A compact overview of all slides in the lesson.
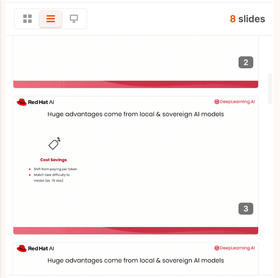
- List View: A larger, scrolling view to read text easily.
- Single Slide View: Focus entirely on one slide at a time to check details.
- Transcript Tab: View the automatically extracted course transcript in real-time. Use the search bar to find specific topics instantly.
 Grid View
 List View
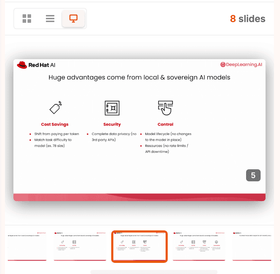 Presentation View
Power User Features
Manual Control & Shortcuts
Sometimes you want to capture a specific frame that the auto-detector might skip (like an interesting diagram drawn by the instructor).
-
The Snap Button: Click the "Snap" button in the panel to instantly capture the current video frame.
-
Keyboard Shortcuts: Use the default Ctrl + Shift + 9 shortcut to trigger a manual snap instantly! You can easily customize this mapping at any time by visiting
chrome://extensions/shortcutsin your browser.
2. Using the Slide Detection Zone (For Picture-in-Picture Webcams)
Sometimes instructors place their webcam (PiP) inside the video frame, which can cause SlideSieve's AI to reject the frame or capture false positives. To solve this, you can manually guide the AI using the Slide Detection Zone.
- Click the Crop/Region icon (dashed square) on the floating toolbar.
- The video will pause. At the top of the screen, choose your mode:
- Capture Zone: Click and drag to draw a box around the slide itself. The AI will only analyze what is inside this box.
- Exclude Zone: Click and drag to draw a box completely covering the instructor's webcam. The AI will analyze the video but ignore the webcam box.
- Click the Save Region button.
SlideSieve will now respect your boundaries for the entire course. You only need to set it once per course!
Slide Management
Not every captured slide makes the final cut.
- Selecting Slides: Use the select toggle to pick specific slides. Once selected, these slides can be exported on their own or batch removed to quickly clean up your workspace.
- Removing Slides: Simply hover over any slide thumbnail in the panel and click the "×" icon to instantly delete it from your local storage.
Export Options
Once your lesson is complete, it's time to export your slides and transcript.
- Export to PDF: Click the Export button to compile all (or selected) slides into a clean, multi-page document. SlideSieve perfectly preserves the original aspect ratio of every slide.
- Export Transcripts: You can export the extracted transcript alongside your slides as a
.txtor.mdfile for comprehensive study notes. - Export as Images: Prefer raw image files? You can export the slides as a ZIP file of individual images.
Sync & Settings
At the bottom of the panel, you'll find additional controls:
- Auto-Scroll Sync: By default, the side panel will automatically scroll to the bottom whenever a new slide is captured. If you want to review older slides while the video is still playing, simply toggle the Sync button off to pause auto-scrolling. Click it again when you're ready to snap back to the latest capture!
- Settings: Access the settings gear to customize SlideSieve to your workflow. You can easily change your keyboard shortcuts, set the default floating toolbar position, switch between light and dark themes, and adjust advanced capture preferences.
More Articles
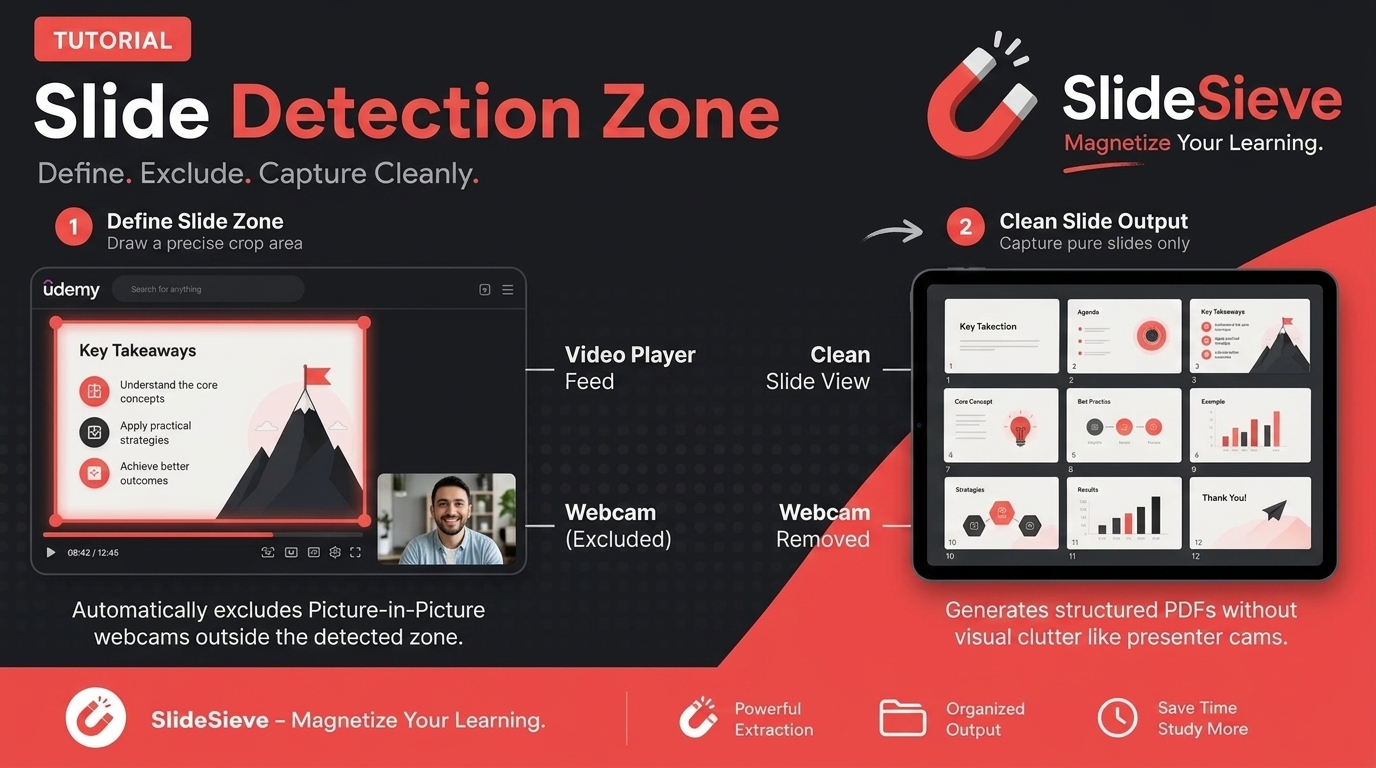
How to Capture Slides from Picture-in-Picture Webcam Courses
Learn how to use SlideSieve's Detection Zone to accurately capture presentation slides from courses that feature Picture-in-Picture instructor webcams.
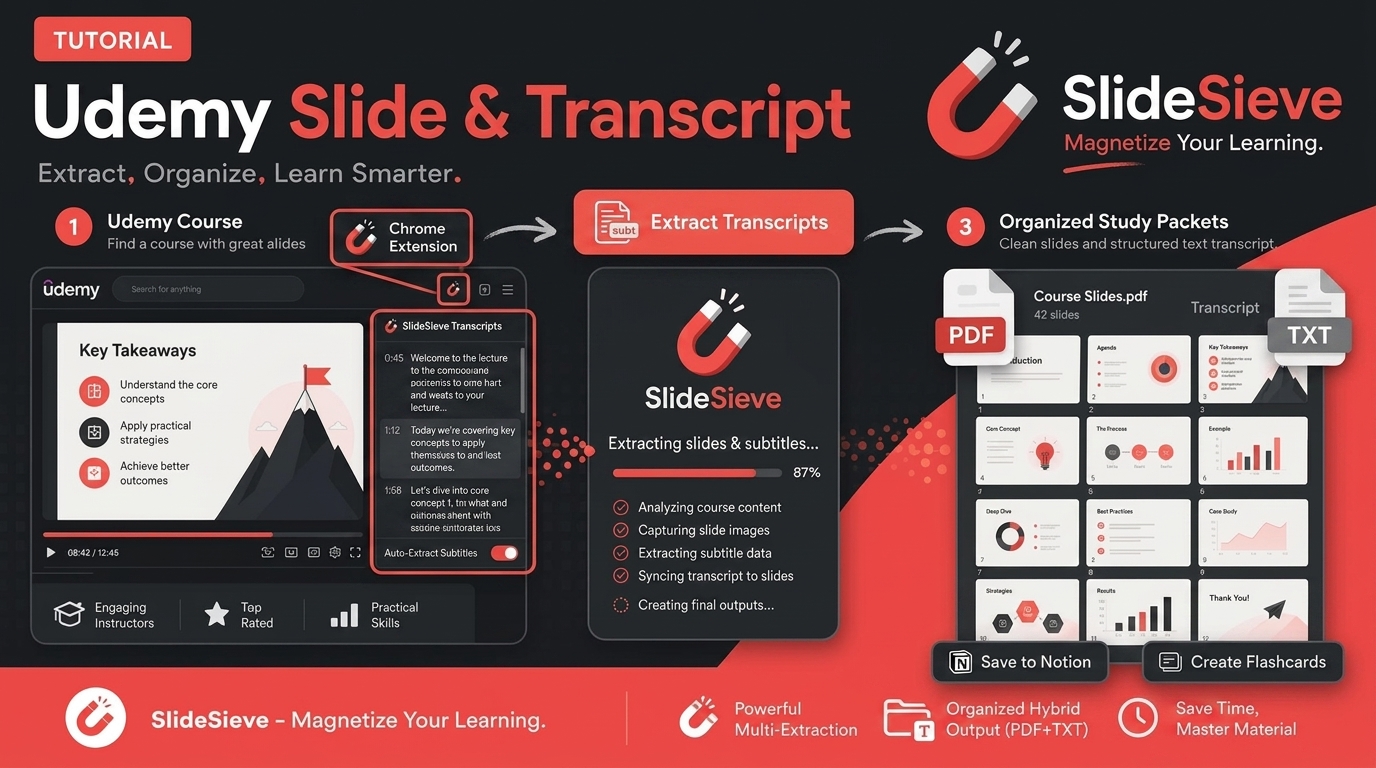
How to Save Course Transcripts with SlideSieve
Learn how to automatically extract and download transcripts from Coursera, Udemy, YouTube, and DeepLearning.AI videos using SlideSieve.
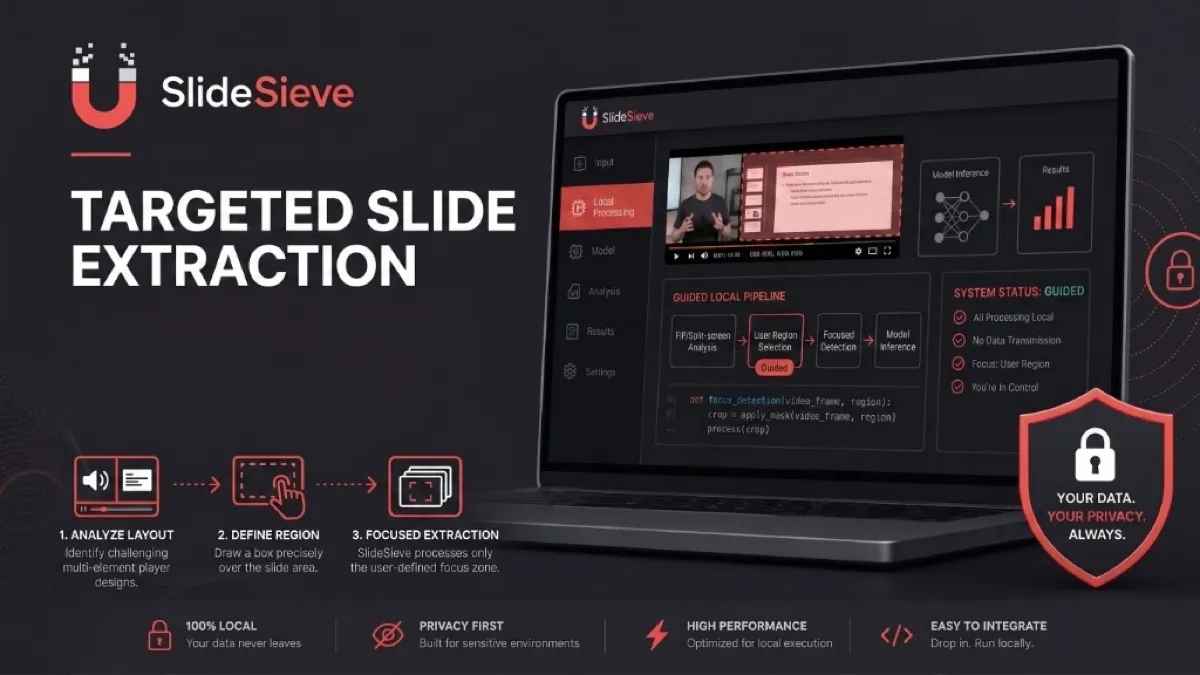
SlideSieve 1.1: Transcript Extraction, Slide Detection Zone, and 15 Languages
SlideSieve 1.1 is our biggest update yet. We've added full course Transcript Extraction, a Slide Detection Zone to handle Picture-in-Picture webcam overlays, and localization in 15 languages.