How to Extract Slides from Any Online Course Video (2026 Guide)

The Problem: Note-Taking Breaks Your Learning Flow
Online courses have transformed education, but managing the information packed into each lecture is genuinely hard. The traditional approach — pausing the video, taking a screenshot, cropping it to the slide, then switching to your note-taking app to paste it — takes 15–30 seconds per slide. For a lecture with 40 slides, that's 20 minutes of friction that could have been spent actually learning.
SlideSieve solves this by watching the video alongside you and automatically saving every slide to a clean PDF — with zero interruption to your focus.
Supported Platforms
SlideSieve currently captures slides from the following platforms:
| Platform | Auto Capture | Auto Lesson Naming |
|---|---|---|
| DeepLearning.AI | ✅ | ✅ |
| Coursera | ✅ | ✅ |
| Udemy | ✅ | ✅ |
| YouTube | ✅ | ✅ (video title) |
Step-by-Step Guide
Step 1: Install SlideSieve
Install SlideSieve from the Chrome Web Store. The installation is quick and secure, taking less than a minute. Once installed, pin the extension to your Chrome toolbar — this gives you one-click access to the side panel while watching any lecture.
Step 2: Navigate to Your Course Video
Open any course video on DeepLearning.AI, Coursera, Udemy, YouTube, or any other platform. Do not press play yet. SlideSieve works with all major video hosting services that use a standard HTML5 video player.
Step 3: Start Auto Capture
Before pressing play, click the Start Auto Capture button on the SlideSieve floating toolbar that appears directly under the video player. Once you click it, you can hit play and the extension will begin capturing from the very first frame.
Step 3a: Set a Slide Detection Zone (Optional)
If your course uses a Picture-in-Picture layout — a small instructor webcam window floating over the slides — click the region selector icon on the toolbar. Drag to draw a rectangle over the slide area, leaving the webcam window outside. Click Save Region. SlideSieve analyzes only that rectangle from this point forward. The webcam sits outside the boundary and never reaches the pipeline. The zone saves per course; set it once.
Step 4: Watch Normally
This is the best part: you don't need to do anything. Just watch the lecture at your normal pace. SlideSieve runs silently in the background, analyzing each frame in real time. When a new slide appears, it saves it instantly. When the video cuts to the instructor's face, that frame is discarded. Dark transition screens between sections are also skipped.
Step 5: Review Your Slides
Once the lecture is over (or even mid-lecture), open the SlideSieve side panel to see all your captured slides. You can view them in three modes:
- Grid View — a compact thumbnail overview
- List View — a scrollable, larger view for reading text
- Single Slide View — full-screen focus on one slide
Delete any unwanted frames by hovering and clicking the × icon.
Step 6: Export to PDF
Click the Export button to compile your slides into a single, perfectly formatted PDF. SlideSieve preserves the original aspect ratio of each slide — the exported document looks exactly like the course material. You can also export as individual images in a ZIP file.
What Makes SlideSieve Different From Screenshot Tools
Most people resort to one of three approaches when they want to save slides. Here's how they compare:
| Method | Interruption | Organization | Privacy |
|---|---|---|---|
Manual Cmd+Shift+4 screenshots | High — pause every slide | Manual — unnamed files | ✅ Local |
| Cloud AI video summarizers | Low — but upload required | Auto | ❌ Sends video to server |
| SlideSieve | None — fully automatic | Auto by course/lesson | ✅ 100% local |
How the Slide Detection Works
SlideSieve's classification algorithm decides for each video frame whether it is a slide or not. It runs entirely in your browser using JavaScript, with no cloud processing required:
- Transition check — frames with very low average luminance (dark/black) are immediately skipped.
- Human detection — a connected-component analysis checks the center 60% of the frame for large, contiguous skin-toned blobs. A human face forms one large blob; this triggers a veto.
- Code detection — horizontal line analysis detects IDE and notebook layouts and rejects them.
- Deduplication — a binarized grayscale thumbnail is compared to the last saved slide. Only frames with more than 50 structurally connected changed pixels are saved — catching even single new bullet points while ignoring video noise and focus-pull blur.
Pro Tips for Best Results
- Use a Slide Detection Zone for PiP webcam layouts. If the instructor's camera window floats over the slides, click the region selector and draw the boundary over just the slide area. The webcam is excluded automatically.
- Always click "Start Auto Capture" before pressing play. If you start capturing mid-video, you'll miss the earlier slides.
- Use the manual snap shortcut.
Ctrl + Shift + 9instantly captures the current frame regardless of what the algorithm decided. Perfect for live whiteboard writing or drawn diagrams. - Review and clean up after each lesson. The side panel makes it easy to quickly delete any missed frames, keeping your final PDF tight.
- Export as images if you're building a slide database. The ZIP export gives you individual PNG files, which are easier to import into Notion, Obsidian, or Anki for spaced-repetition review.
- Your slides are never lost. Captures are stored in your browser's local IndexedDB storage and persist indefinitely. No expiration, no sync required.
Conclusion
SlideSieve transforms the way you learn from online courses. By automating the entire slide capture and organization workflow, you can focus 100% on understanding the content — not managing your notes. Install it once, and it silently has your back for every lecture from that point forward.
More Articles
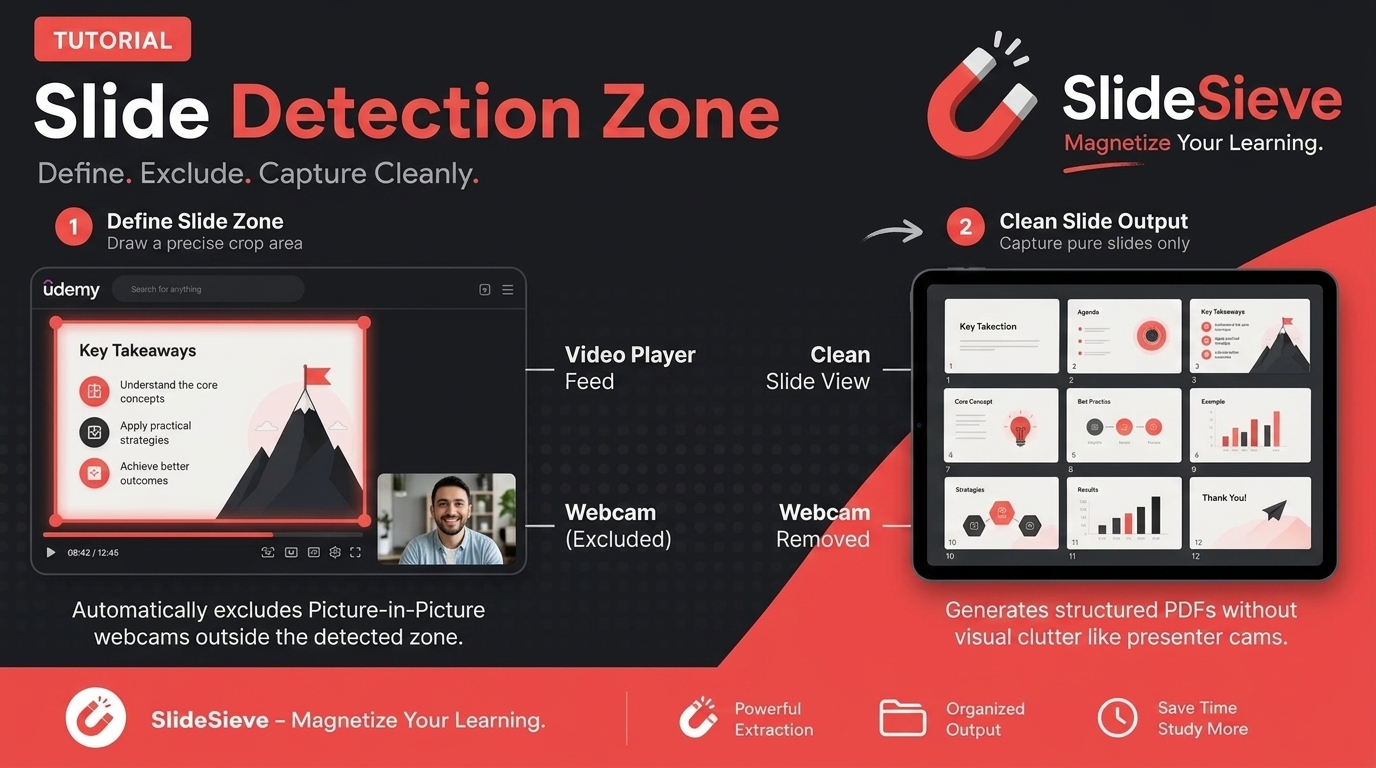
How to Capture Slides from Picture-in-Picture Webcam Courses
Learn how to use SlideSieve's Detection Zone to accurately capture presentation slides from courses that feature Picture-in-Picture instructor webcams.
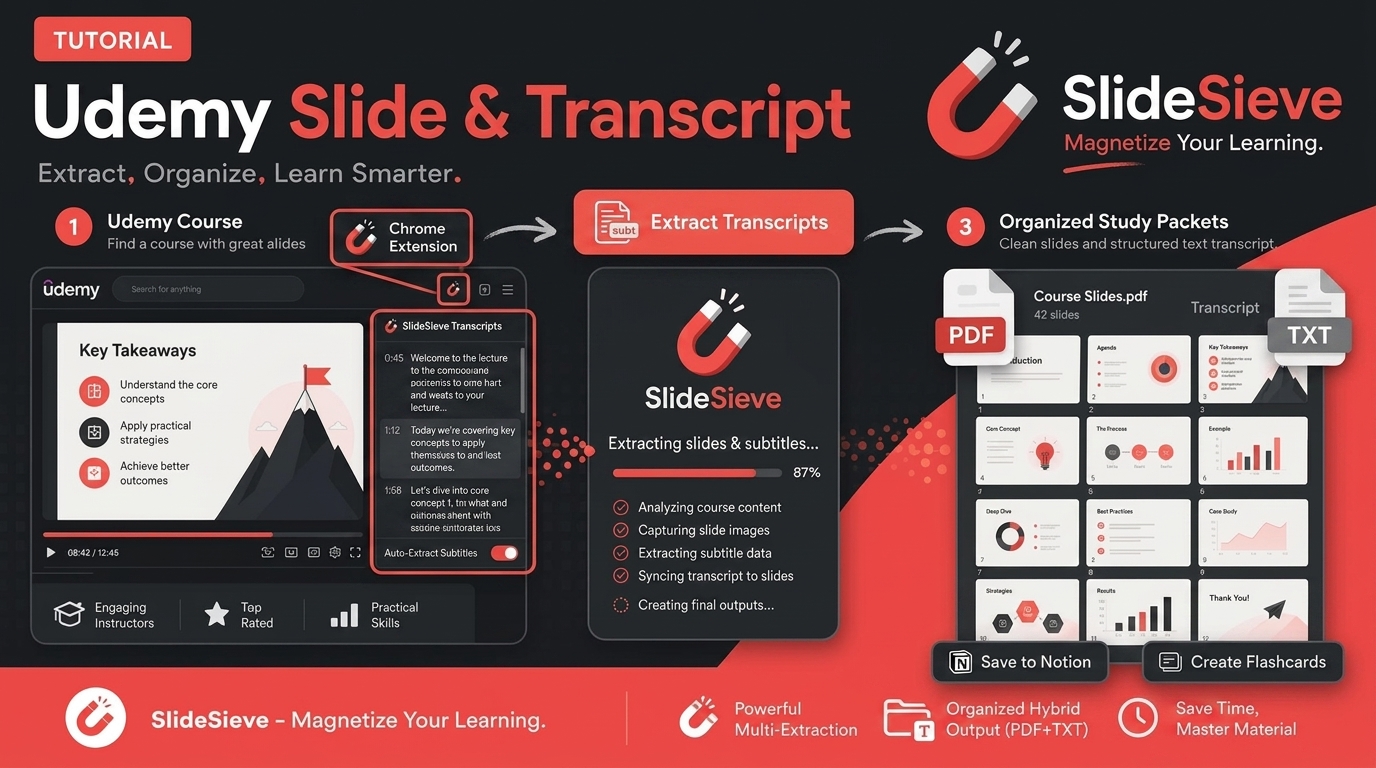
How to Save Course Transcripts with SlideSieve
Learn how to automatically extract and download transcripts from Coursera, Udemy, YouTube, and DeepLearning.AI videos using SlideSieve.
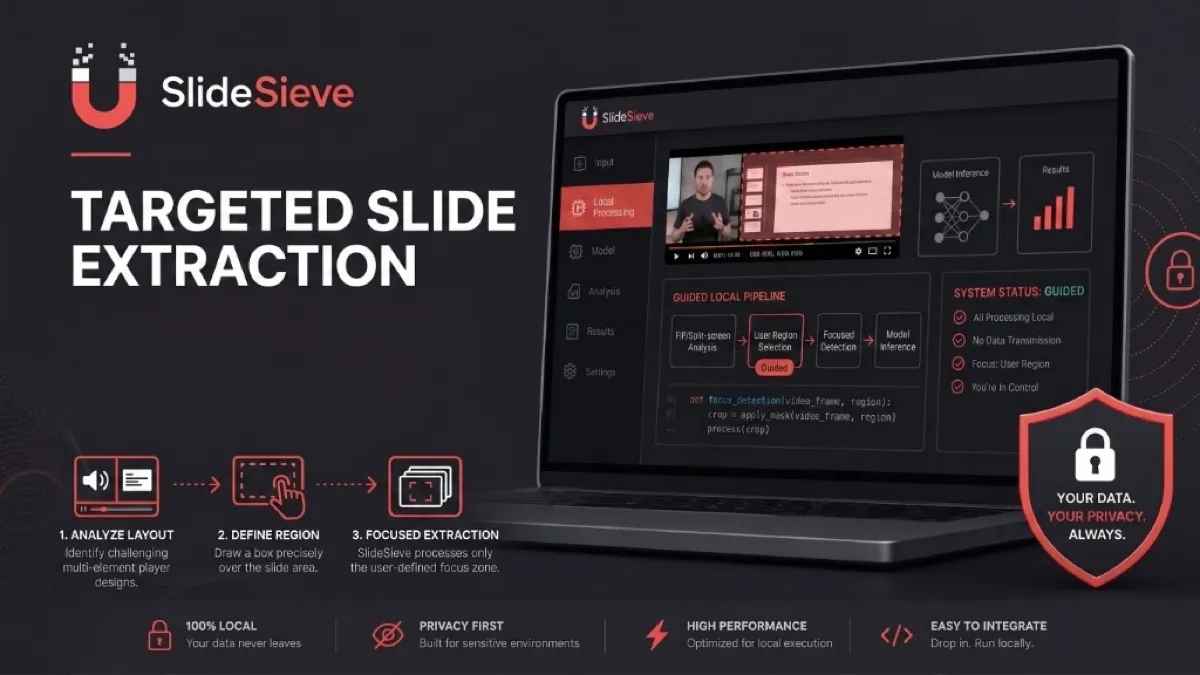
SlideSieve 1.1: Transcript Extraction, Slide Detection Zone, and 15 Languages
SlideSieve 1.1 is our biggest update yet. We've added full course Transcript Extraction, a Slide Detection Zone to handle Picture-in-Picture webcam overlays, and localization in 15 languages.