How to Turn Educational YouTube Videos into Slide Decks
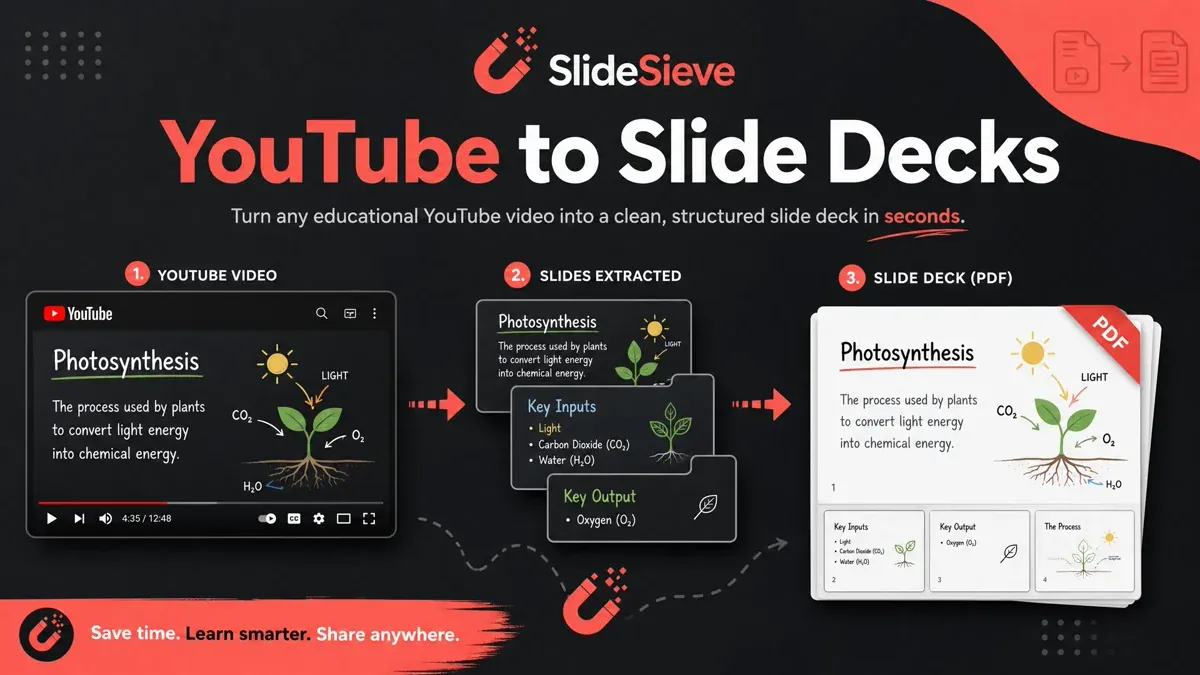
The Challenge of Note-Taking on YouTube
YouTube is arguably the world's largest educational platform, hosting thousands of high-quality lectures, tech talks, and conference presentations from universities, researchers, and industry leaders. However, unlike formal course platforms, there is rarely any supplementary material provided in the video description. If a speaker shares a great slide deck during a talk, your only option to save their slides is to manually pause and screenshot the video — a tedious, focus-breaking process.
SlideSieve automates this entirely, turning any YouTube presentation into a downloadable slide deck with zero manual effort. It works directly in your Chrome browser without requiring you to download or upload anything.
Step-by-Step Guide
1. Install SlideSieve
First, ensure you have the SlideSieve Chrome Extension installed in your browser. Pin it to your Chrome toolbar so you can open the side panel while watching.
2. Open Your YouTube Video
Navigate to the educational video or conference talk on YouTube. SlideSieve works best on content with traditional slide presentations — lecture-style videos, conference talks, tutorial walkthroughs, and course content. For a great example, try it on the Full AI Prompting Course with Andrew Ng from DeepLearningAI.
3. Start the Capture
Before pressing play, click the prominent Start Auto Capture button on the SlideSieve floating toolbar that appears directly under the YouTube video. SlideSieve will automatically pull the YouTube video title to name your capture session so your slides are properly labeled. Now hit play, and the extension will capture every slide from the very first second!
4. Let the Algorithm Work
As the YouTube video plays, SlideSieve runs entirely locally in your browser. The algorithm analyzes the video stream frame by frame. It automatically ignores frames where the speaker is on camera, capturing only the presentation slides as they appear on screen.
The algorithm also handles progressive slide builds — when the speaker reveals content bullet by bullet, SlideSieve captures each meaningful update without flooding you with hundreds of near-identical frames.
5. Review Your Slides
Once the video is done (or even while it's still playing), open the SlideSieve side panel to see your captured slides organized in chronological order. Switch between Grid View, List View, and Single Slide View to review them. Delete any frames you don't need by hovering and clicking ×.
6. Export Your Slides
Use the Export button to generate a clean, local PDF file containing the entire presentation deck. SlideSieve preserves the original 16:9 aspect ratio of YouTube videos in the PDF — no letterboxing, no cropping. You can also export as individual images in a ZIP file.
Types of YouTube Content That Work Best
SlideSieve works on any YouTube content where a traditional slide presentation appears on screen. Here are the types of videos that deliver the best results:
- Conference talks and keynotes (Google I/O, NeurIPS, TED talks with visual slides)
- University lecture recordings (MIT OpenCourseWare, Stanford, etc.)
- Tech tutorials with slide introductions (Python tutorials, ML courses)
- Corporate training videos uploaded to YouTube
- Educational channel deep-dives with a structured slide format
Videos that are purely screencast coding walkthroughs with no slides, or purely talking-head interviews with no visual content, will produce fewer or no captures — which is the correct behavior.
Pro Tips for YouTube
- Capture live conference talks. If you're watching a live or recorded conference, start SlideSieve before the talk begins. It will automatically capture the speaker's slides without any interruption.
- Manual snap for whiteboard moments. Use
Ctrl + Shift + 9to instantly capture any frame manually — useful if an instructor writes equations or draws diagrams on screen. - Use with other course providers. You can extract slides from any online course video on educational platforms including Coursera, Udemy, and DeepLearning.AI.
Frequently Asked Questions
Does SlideSieve upload my YouTube videos anywhere? No. The extension processes video frames locally inside your browser. No data is sent to any external server. Everything is saved in your browser's IndexedDB storage.
Can I capture slides from YouTube Premium or private videos? SlideSieve analyzes the video as it plays in your browser. As long as you have permission to watch the video and it plays in Chrome, SlideSieve can capture its slides — regardless of whether it's a free, Premium, unlisted, or age-restricted video.
Does it work on YouTube Shorts? SlideSieve is optimized for standard YouTube videos with a 16:9 player. YouTube Shorts use a vertical format and are typically not slide-based content, so they are not a supported use case.
Will it capture the YouTube player controls or ads? No. Ads are full-frame video interruptions that lack slide-like characteristics, so they are typically ignored. The YouTube player controls do not appear on captured frames since SlideSieve captures the raw video content directly, not a screenshot of the screen.
More Articles

How to Capture Slides from Picture-in-Picture Webcam Courses
Learn how to use SlideSieve's Detection Zone to accurately capture presentation slides from courses that feature Picture-in-Picture instructor webcams.
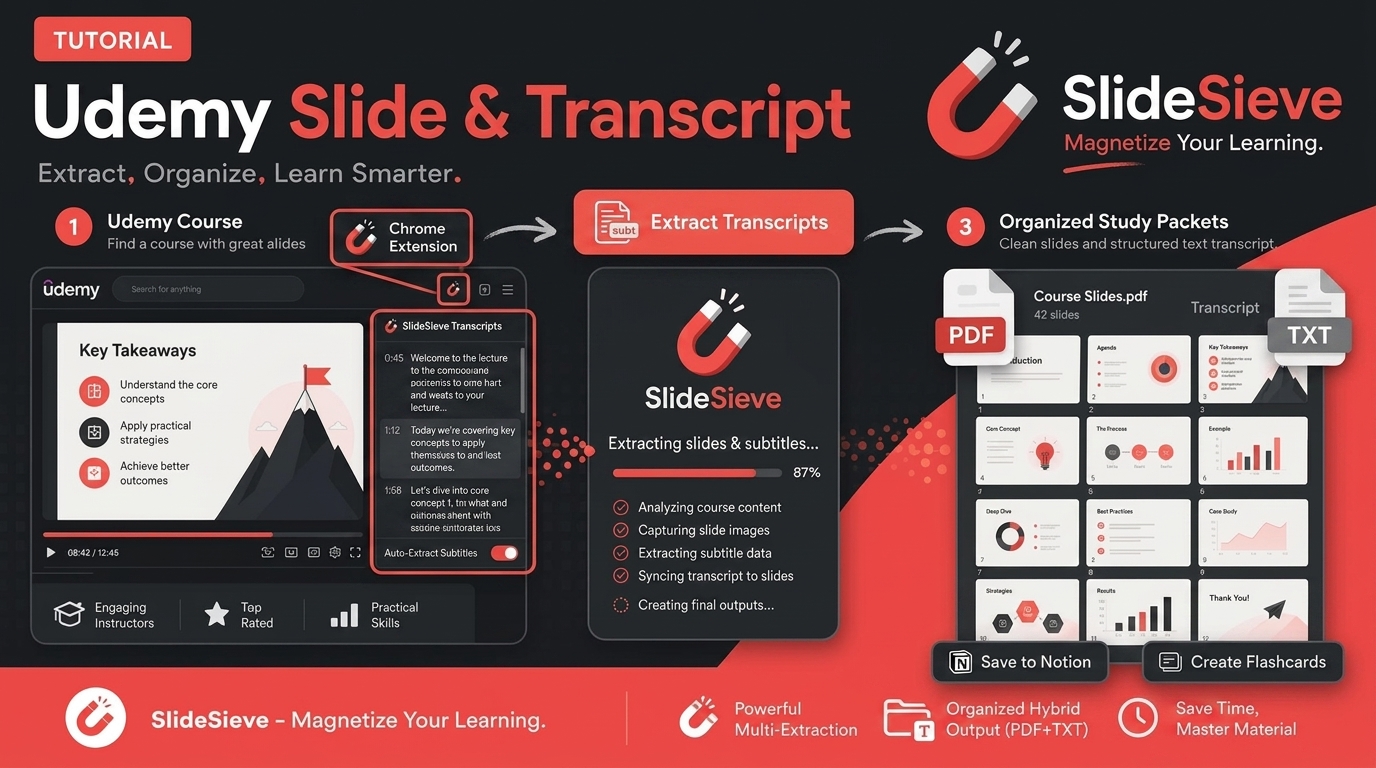
How to Save Course Transcripts with SlideSieve
Learn how to automatically extract and download transcripts from Coursera, Udemy, YouTube, and DeepLearning.AI videos using SlideSieve.

SlideSieve 1.1: Transcript Extraction, Slide Detection Zone, and 15 Languages
SlideSieve 1.1 is our biggest update yet. We've added full course Transcript Extraction, a Slide Detection Zone to handle Picture-in-Picture webcam overlays, and localization in 15 languages.