How SlideSieve Works: Automated Slide Capture with Zero Cloud Uploads

The Magic: "Set It and Forget It"
When you're taking an online course, the last thing you want to do is micromanage your note-taking tools. We built SlideSieve to operate silently in the background.
Once you click Start Auto Capture on the floating toolbar and hit play, the extension begins watching the video stream alongside you. It doesn't blindly take screenshots every 5 seconds — that would produce hundreds of identical, useless images. Instead, it runs a multi-stage classification pipeline on each video frame.
Stage 0: Slide Detection Zone (Optional)
Before any analysis begins, SlideSieve checks whether you've defined a Slide Detection Zone for the current course. You draw this rectangle yourself using the region selector on the floating toolbar.
With a zone defined, the detection pipeline runs exclusively inside that rectangle. Pixels outside the boundary are never sampled.
Use this for courses with a Picture-in-Picture layout, where the instructor's webcam appears as a small floating window overlaid on the slides. Draw the zone over the slide area. The webcam window sits outside the boundary and never reaches the pipeline.
Stage 1: Transition Detection
Every time the video switches between scenes, it briefly goes dark. SlideSieve calculates the average luminance of each captured frame. Any frame where the average pixel brightness falls below a threshold is immediately discarded as a transition frame. This is the fastest check in the pipeline — dark frames are rejected before any further processing happens.
Stage 2: Human (Instructor) Detection
This is where most slide capture tools fail. A naive screenshot tool will save the instructor's talking-head segments as if they were slides. SlideSieve avoids this with a connected-component spatial analysis.
The algorithm samples the center 60% of the frame and looks for large, contiguous blobs of skin-toned pixels. A human face forms one large blob — typically covering 15–40% of the center area. When the largest skin-toned blob exceeds 8% of the sampled area, the frame is vetoed.
The key insight is that UI design elements (colored icons, diagram shapes, illustration characters) are many small blobs — each individually below the 8% threshold. A real instructor face is one large blob that crosses it immediately.
Only the center of the frame is checked, which means Picture-in-Picture instructor overlays in the corner of the frame do not trigger the veto.
Stage 3: Code and Notebook Detection
DeepLearning.AI, Coursera, and Udemy courses often embed Jupyter notebooks, code editors, and terminal windows directly in their lecture videos. These frames look nothing like slides, but a simple color-based algorithm can't tell them apart.
SlideSieve uses a horizontal line density analysis. It samples three vertical columns across the frame at 25%, 50%, and 75% of the width. In a code editor or notebook, rows of consistently formatted text produce synchronized luminance transitions across all three columns simultaneously. The algorithm counts these synchronized transitions. If the count exceeds 10, the frame is classified as a code frame and skipped.
Presentation slides with a clean background produce zero to two horizontal line transitions. A Jupyter notebook with multiple code cells produces 16 or more. The gap between them is large enough that the threshold is reliable across all course styles.
Stage 4: Deduplication
Once a frame passes all three vetoes, SlideSieve compares it to the last saved slide. Many lectures display the same slide for 30–60 seconds, or reveal bullet points one at a time. Without deduplication, you end up with dozens of near-identical frames.
SlideSieve generates a 256×256 grayscale thumbnail of the full active area, then binarizes it at the frame's average luminance. This converts the image to pure black and white — committed edges, no blur. It then computes a structural difference mask against the previous saved frame. A pixel is only counted as "changed" if it is connected to at least two other changed pixels. This structural connectivity requirement filters out video compression artifacts and focus-pull blur, which scatter into isolated single pixels.
If the number of structurally connected changed pixels exceeds 50, the frame qualifies as a genuinely new slide and is saved. This threshold catches a single new bullet point appearing on a slide while completely ignoring camera grain and encoding noise.
Where the Files Go
When a frame passes all four stages, it is captured from the HTML5 video element using the Canvas API and stored as a compressed image directly in your browser's IndexedDB storage — the same local database technology used by offline web apps like Figma. It never touches any server.
Slides are indexed by course name, lesson name, and video timestamp. This means when you navigate to the next lesson, SlideSieve automatically loads the right set of slides in the side panel without any manual sorting.
What the Side Panel Shows You
The side panel connects directly to the local IndexedDB database. It displays your captured slides in real time as the video plays. You can switch between three views:
- Grid — thumbnail overview, useful for scanning the full lesson at a glance
- List — larger previews with more vertical space for reading dense text slides
- Presentation — full-screen single-slide focus for review
You can delete any individual slide by hovering and clicking the remove icon. The "Clear Slides" button at the bottom removes all slides for the current lesson.
PDF Export
When you click Export, SlideSieve reads each captured frame from IndexedDB in chronological order. It uses the jsPDF library to generate a PDF document, adding each slide to a new page. Crucially, each page's dimensions match the original aspect ratio of that specific slide image — so you get a clean, properly proportioned document regardless of whether the course uses 16:9, 4:3, or any other format.
The entire PDF is generated inside the browser and downloaded directly to your machine. No round-trip to a server, no upload, no waiting.
The Result
The full pipeline — transition detection, human detection, code detection, deduplication, storage, and export — runs in a Web Worker in your browser tab. It adds no perceptible delay to video playback. Most users never notice it's running until they open the side panel and see their slides waiting for them.
That's the design goal: a tool that works best when you're not thinking about it.
More Articles
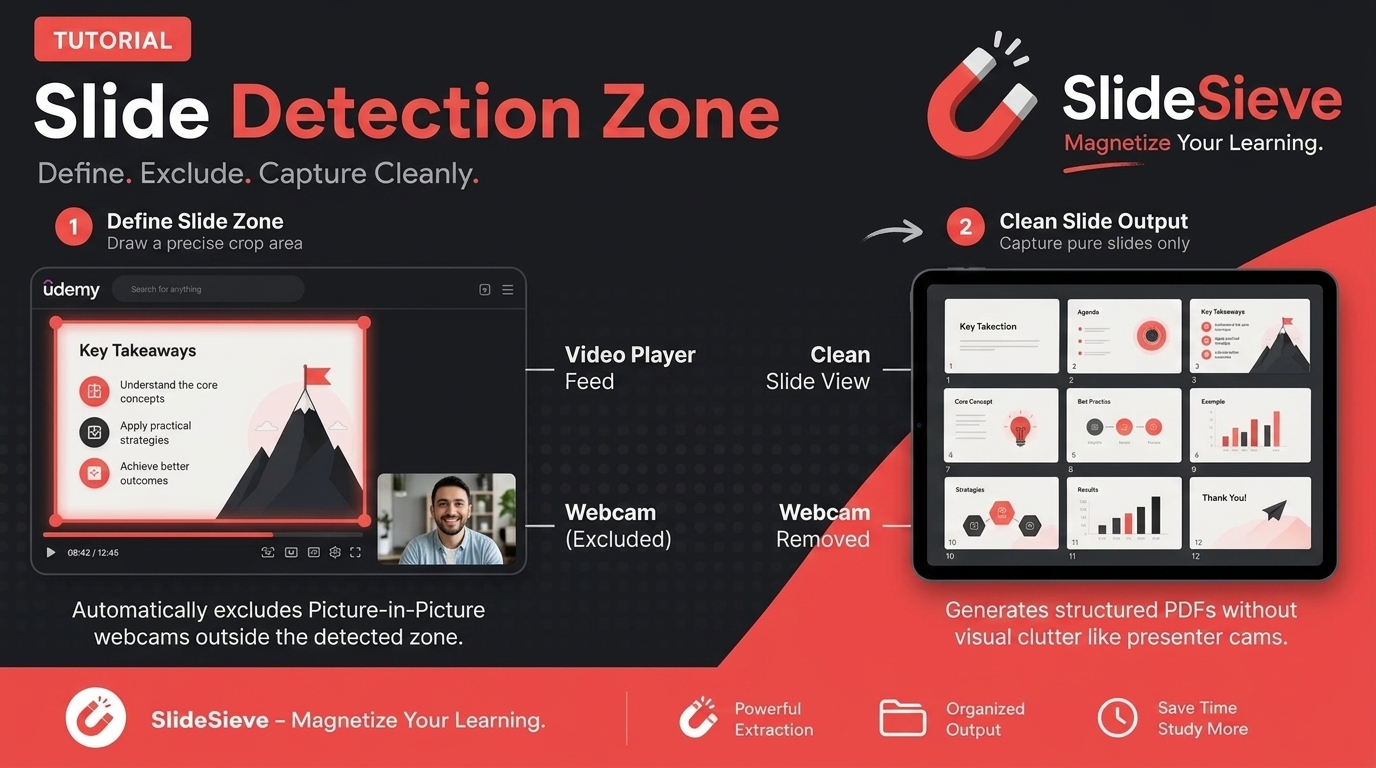
How to Capture Slides from Picture-in-Picture Webcam Courses
Learn how to use SlideSieve's Detection Zone to accurately capture presentation slides from courses that feature Picture-in-Picture instructor webcams.
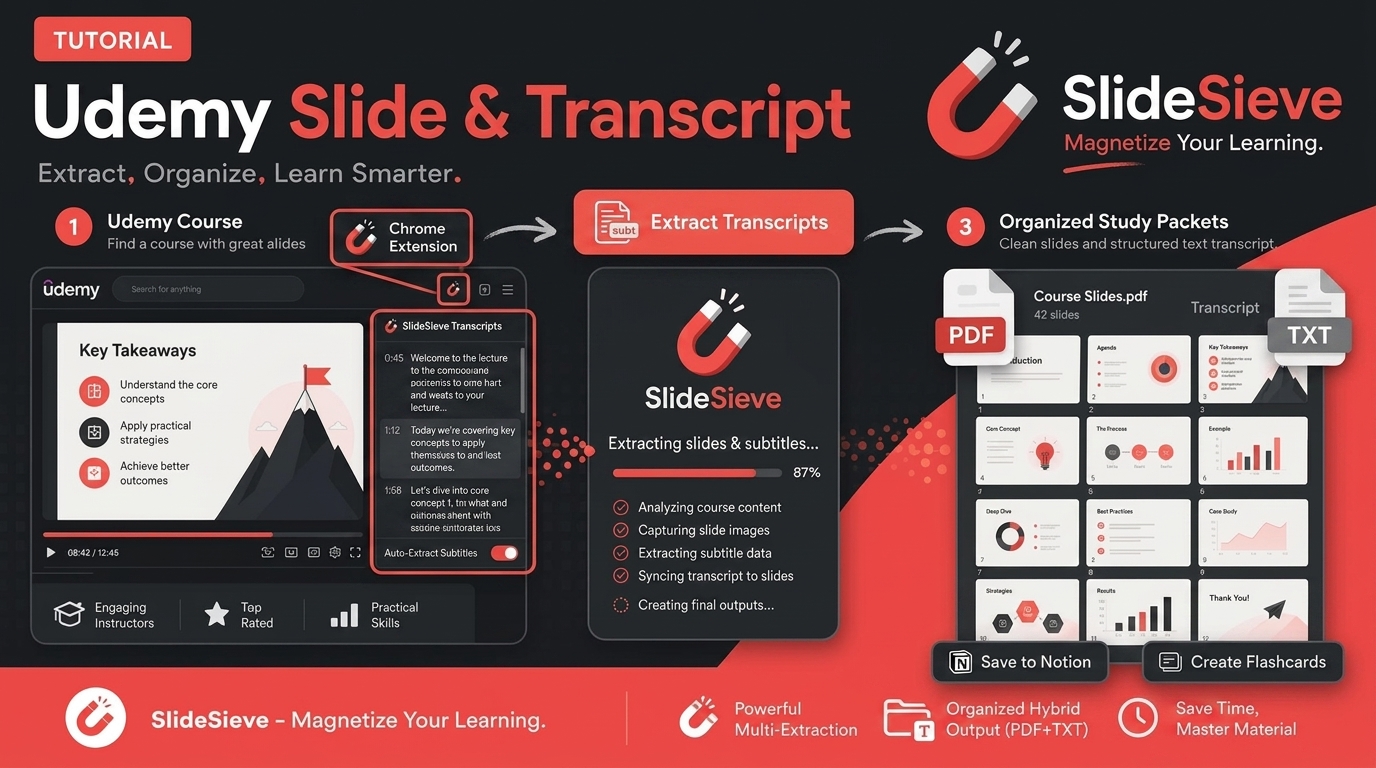
How to Save Course Transcripts with SlideSieve
Learn how to automatically extract and download transcripts from Coursera, Udemy, YouTube, and DeepLearning.AI videos using SlideSieve.

SlideSieve 1.1: Transcript Extraction, Slide Detection Zone, and 15 Languages
SlideSieve 1.1 is our biggest update yet. We've added full course Transcript Extraction, a Slide Detection Zone to handle Picture-in-Picture webcam overlays, and localization in 15 languages.